Ingredients
2 1/2 cup(s) all-purpose flour
2 tablespoon(s) baking powder
1/8 teaspoon(s) allspice
1/8 teaspoon(s) ground cloves
1/2 teaspoon(s) salt
1/4 cup(s) packed light brown sugar
1/4 cup(s) unsalted butter, chilled
1/4 cup(s) shortening, chilled
1 1/2 cup(s) sweet potatoes, mashed
2 tablespoon(s) milk
Heat oven to 425 degrees F. Sift the flour, baking powder, allspice, cloves, and salt in a large bowl. Use the tips of your fingers to blend in the brown sugar.
Cut in the chilled butter and shortening with a pastry cutter or pulse in a food processor until the mixture resembles coarse, crumbly meal. Then stir in the mashed sweet potatoes and knead until the dough just holds together.
Turn the dough onto a lightly floured surface. Knead gently for 1 minute, adding a little flour as necessary to incorporate all the ingredients.
Pat the dough in a 1/2-inch circle and let it rest, covered with a clean towel, for 10 to 15 minutes.
Cut out the biscuits with a 2-inch round cutter dipped in flour. Gather the scraps, pat out again, and cut into biscuits. Arrange them about 3/4-inch apart on an ungreased baking sheet and brush the tops with milk. Bake until golden brown -- 10 to 12 minutes. Cool the biscuits on a rack.
Read more: Sweet Potato Biscuits Recipe - Country Living

Carrot Top Souffle
2 lbs of cooked carrots
3/4 c. sugar
2 T. Flour
1 1/2 t. baking powder
1 1/2t. vanilla or almond
3 eggs
1/4 c. butter or oleo
Mix in blender and pour into greased 1 1/2-2 qt casserole dish and bake 350 for 45 minutes.
3/4 c. sugar
2 T. Flour
1 1/2 t. baking powder
1 1/2t. vanilla or almond
3 eggs
1/4 c. butter or oleo
Mix in blender and pour into greased 1 1/2-2 qt casserole dish and bake 350 for 45 minutes.
No Crust Pumpkin Pie
1/2 c flour
1 1/2 c. pumpkin ( or any squash you like)
3 eggs
1. c. sugar
1/4 c. butter or shortening
1 1/2 c. milk
1 tsp vanilla
1/2 tsp salt
pumpkin pie spice ( clove, nutmeg, cinnamon)
Mix all this in the blender and pour into lightly greased and sugared pie plate. Bake 350 for 45 minutes.
1 1/2 c. pumpkin ( or any squash you like)
3 eggs
1. c. sugar
1/4 c. butter or shortening
1 1/2 c. milk
1 tsp vanilla
1/2 tsp salt
pumpkin pie spice ( clove, nutmeg, cinnamon)
Mix all this in the blender and pour into lightly greased and sugared pie plate. Bake 350 for 45 minutes.
Homemade Bread
I got this recipe many years ago from one of my first friends I made when we moved into Muddy Boot Acres.
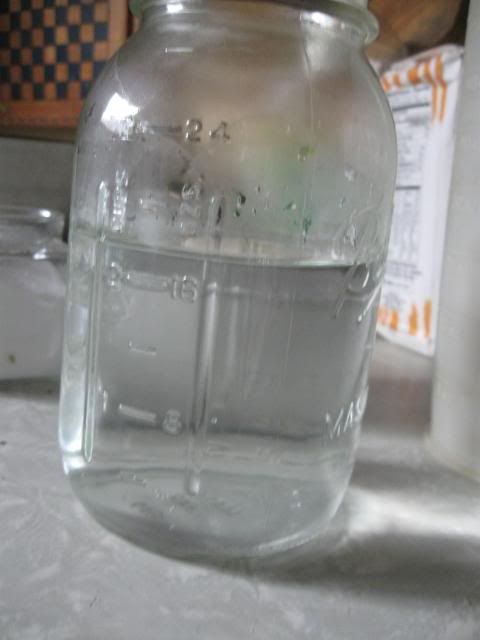
2.5 c warm water
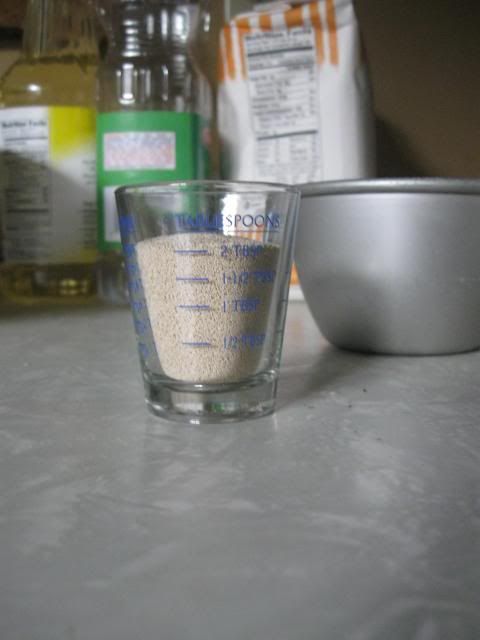
just shy of 1/4 c. yeast
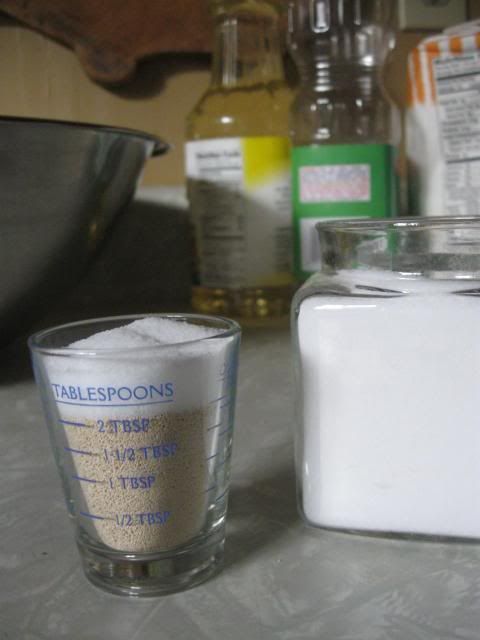
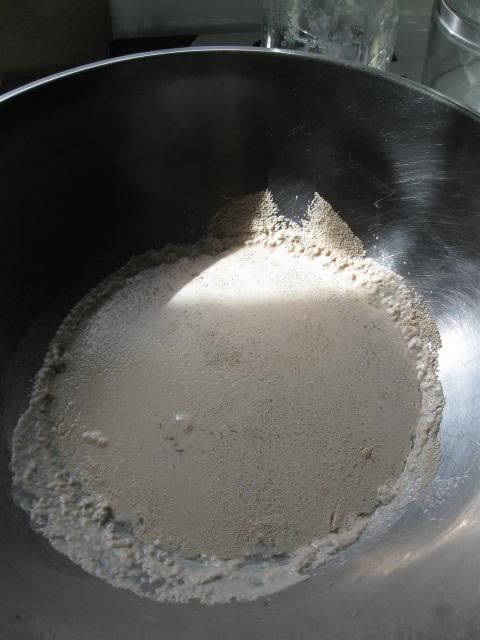 let sit for about 3 minutes or so until bubbly
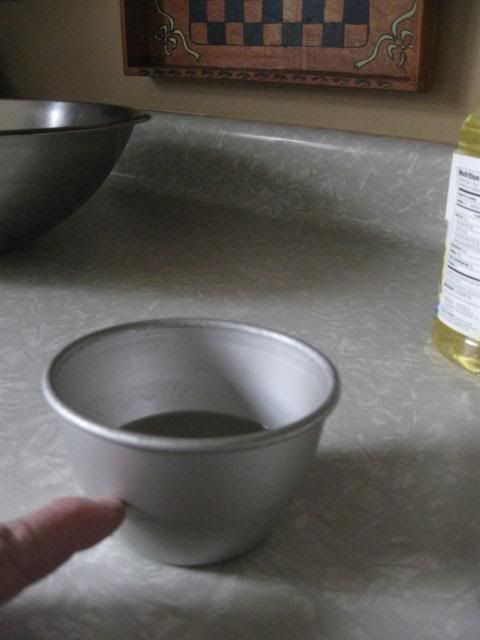
Add:
1/2 c oil OR
1/2 c applesauce OR
1/4 c. of each
if using the applesauce, it will definitely be stickier. I would recommend waiting until you are familiar with the basic recipe before trying this.
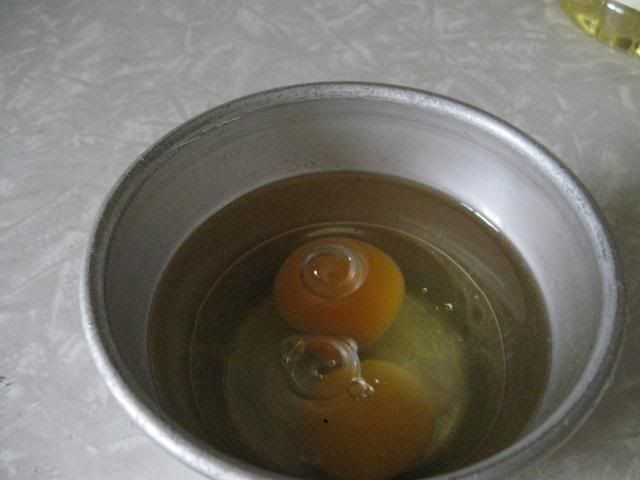
add 2
eggs
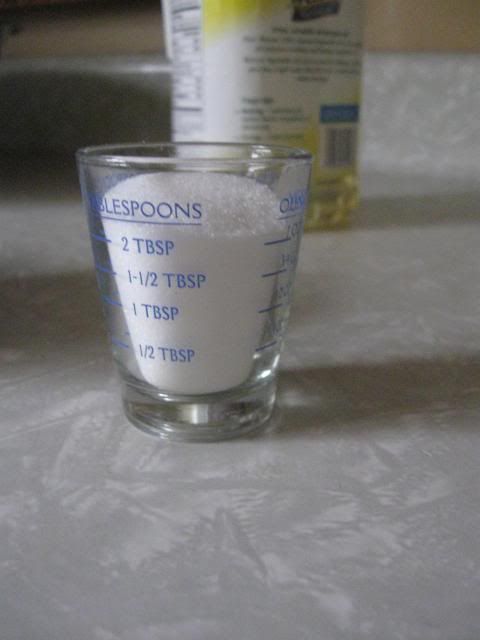
and 1/4 c. sugar or honey
Begin folding in up to but no more than 8 cups of unbleached flour 2 c at a time. If you want a different grain bread, add 1 c. of that FIRST. ( i.e. wheat, oat....) after 1/2 the flour is turned in, turn dough onto lightly floured area and knead. Work the bread until it becomes pliable, but not sticky.
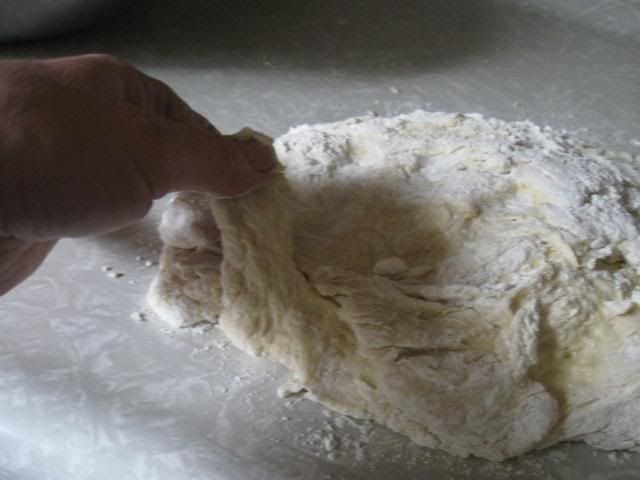
It should start to stand on it's own, but still have some retraction/spongy feel.
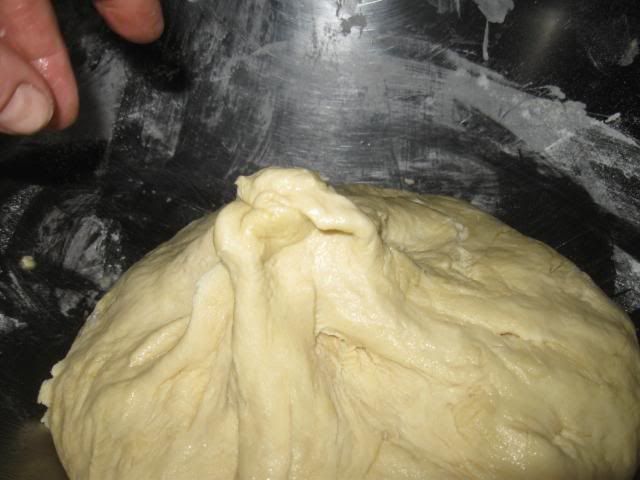
Roll out of the bowl onto lightly floured surface and knead again,making sure all air bubbles are out or you will have your bread fall apart when cutting. Divide it up into the size of your pans. It should be evenly distributed into 3 regular size bread pans, or two long loaf pans. Make sure the pans are oiled, place dough in, then roll so that the oil is all around the dough. This will keep the flexibility in the final rising.
Bake 350 for 20-25 minutes.**
Let cool before you take out of pan and bag.
I put it directly into the freezer after bagging and it stays fresh when you take it out of the freezer. Just be sure to take the bag off while letting thaw or bread will become gummy.
**I have since used a toaster/convection oven to bake as to save propane. I use smaller pans baking only 20 minutes, and bake on upside down broiler pan on bottom rack. This elevates enough so the bottom won't burn. Then, for the last 5 minutes, I turn on the toaster option. This gives it a nice browning on top.
Butchering a Chicken
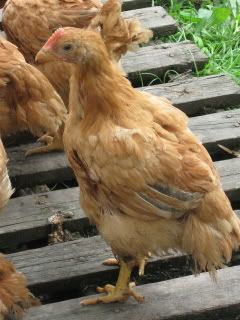 We started out by cutting a hole in the bottom of a deep rectangle bucket we had and lowered the chicken's head through it. We put the lid on to keep the feet in. Tom took a piece of heavy string and tied a stick on one end and a loop on the other. We slid it over the chicken head and made the string taut by pulling on it. Laying the bucket on it's side on the back of our wagon, he took off the head at which time I could let loose the string immediately and let it drop in a bucket we had directly below and I never had to look. Letting the chicken bleed out by turning it upside down in the ground bucket for a minute or two, then moving it to the hanging rack. Tom made one by nailing wood to the pines, nails there to hang the birds upside down, and a bent piece of soffit hung at an angle to drain any remaining blood.
 This didn't take long. We were doing three at a time. Most were roosters. I didn't realize we had that many! The next step was to go to the set up for the plucking and cleaning. You can see how we have the tables set up. The white table on the left was where we would pluck, swiping all feathers off the table into the bucket below (it is covered when not in use because there were bees!) The table to the front was used for cleaning the insides, again, a sweeping of the hand to the left into the bucket kept it clean.

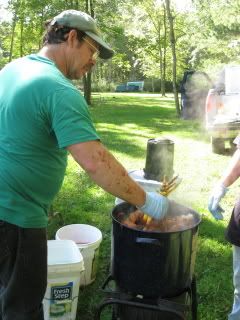 Bringing the bird over, you dip them into ice water until they are thoroughly wet, then right into 145 degree water. This is what that great find from the Steam Engine flea market earlier this year is being used for.No more than 30 seconds in the hot water, or you ruin the skin. It will actually rip as you are trying to defeather.
Then off to the table to pluck and clean. We found it easier to do the wing and under the wing first before the skin started to cool. Before you clean th
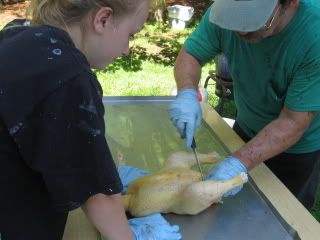 e insides, be sure to get all the little hairs left behind that can't be plucked. We found using a small hand torch quickly over the bird removes that unwanted hair. And I do mean quickly, 2 or 3 seconds! Cut the feet off go from there. Tom found it easier to swipe the inside with his hand then use the knife for freeing the neck, rather than take a knife and pick and poke and possibly damage the meat with a small knife. Then we took the water hose and sprayed the inside to clear out all the small, missed stuff.
We had a cooler with cold water and ice waiting to put the birds in. We would put 6 into the cooler and then bring them up to the house to finish cleaning. We weighed most of the birds in at about 8 - 9 lbs. give or take a few depending on how accurate the scale really was. All I know is that they barely fit in a 2 1/2 gallon Ziploc bag for the freezer. Be sure to tie legs and wings in if you plan on putting them in a crock pot later because otheriwse the legs spread and stay that way!
Grape Jelly Recipe
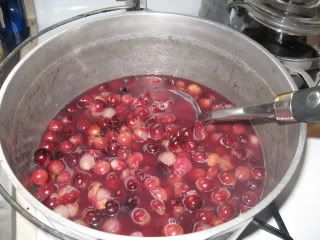
Wash grapes thoroughly. Cook slowly in large pot with enough water to keep from burning. Stir, lifting and moving for about 15 minutes, or until soft. Don't worry if they split or skins come off. 

I have a sieve that I put over the mouth of a large, deep pot, and put about two cups in at a time and mash through. When you think you have gotten all you can from them, scrape the sieve and put the remains in another saucepan. Keep pressing grapes and putting leftover seed and pulp in another pan.
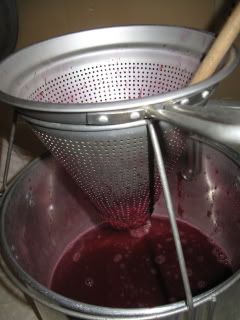
It doesn't matter how many grapes you have, but at least 5 cups of juice would be best. I had 8 cups of juice and it gave me 15 jelly jars.
Once you have everything you can from all the pulp, add a little water to the extra saucepan and steep a few minutes and repeat putting through the sieve. You don't want to water down your grapes to much.
When all the juice is definitely extracted, take your juice pan and put on the stove.
This is where I cheated. The old recipe doesn't call for pectin, but I used one package of it because in the past I always ended up with runny jellies.
So, put in one package of pectin and then begin heating to a good boil. Add an equal amount of sugar to your juice, pouring in quite quickly, stirring constantly until the jelly boils again.
Let it boil for about 5 minutes, turn off burner.
You should have had your jars ready to go.
To hot bath, I put as many will fit in the canner, fill them with water, and then fill in the pot with water. This way, as it is heating, your jars are also getting hot and ready to go.
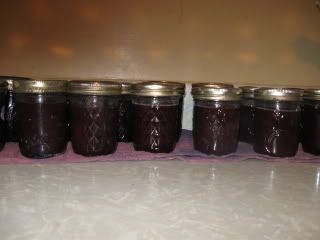
Now that your jelly has set for a (very) few minutes, pour it in the hot jars. You should be able to see it thickening along the sides of the pan. Wipe the mouths of the jar and screw on the lid. I canned them for 5-7 minutes and pulled them out. All sealed but one, and I knew it probably wouldn't anyway. Besides, I would have had to open one for breakfast anyway!
Subscribe to:
Posts (Atom)